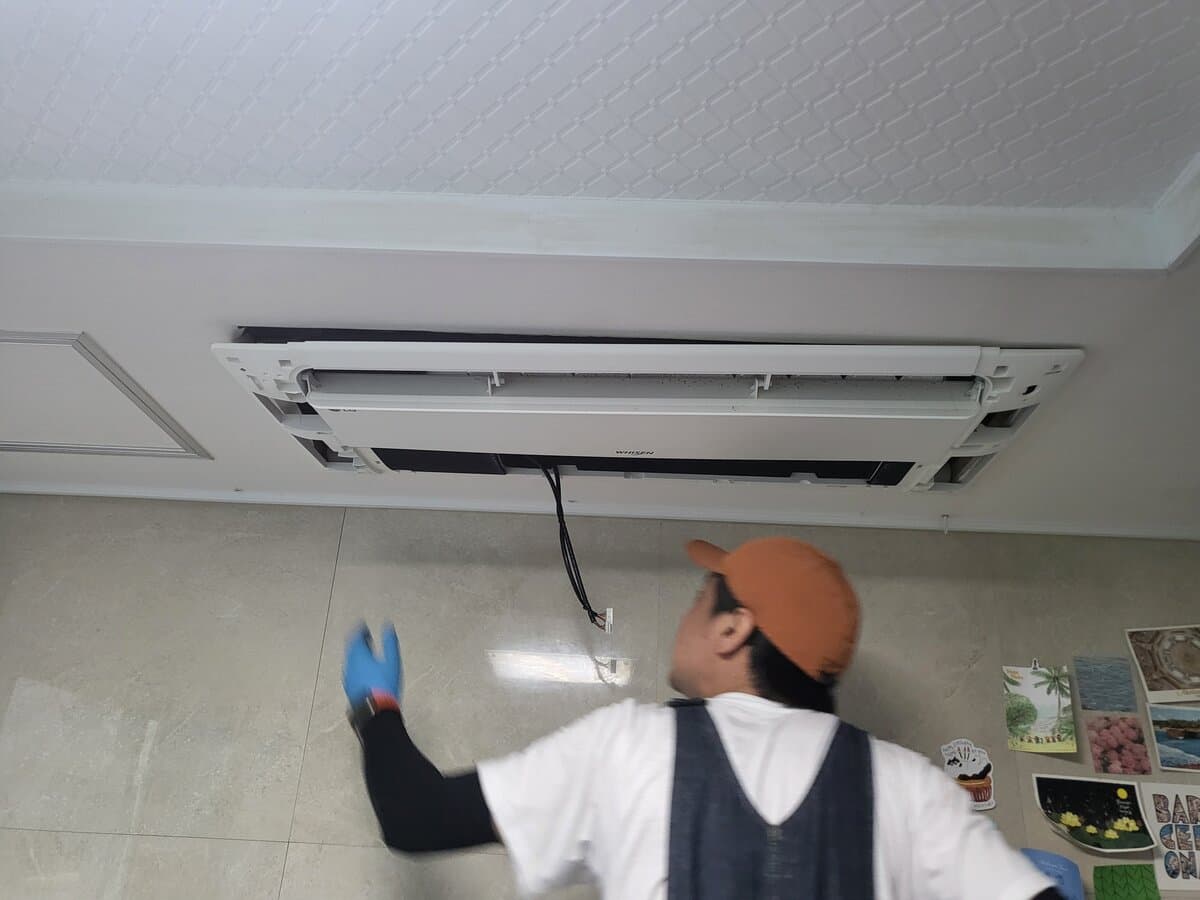
I handle most home repairs myself. A mechanical engineering background means assembly and disassembly come naturally — I understand roughly how things work. Fluorescent light replacement, drain unclogging, door lock swaps: all DIY.
But ceiling cassette AC cleaning was something I kept putting off.
It's partially buried in the ceiling, the disassembly scope is wide, and water work near wiring made me nervous. Seven years went by. Before this summer started, I finally called a professional cleaning service and followed them with a camera from start to finish.
1. Disassembly — Cable First, Then Panel by Panel
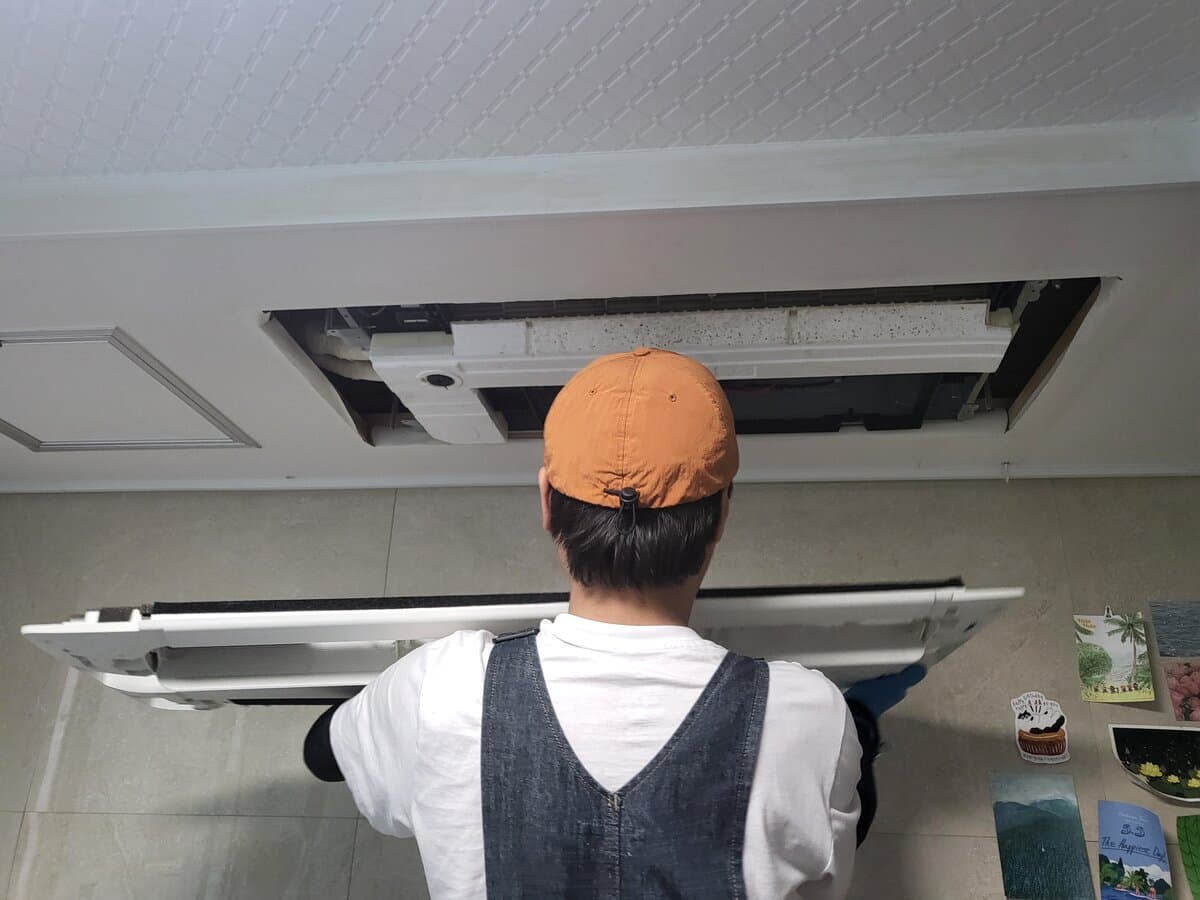
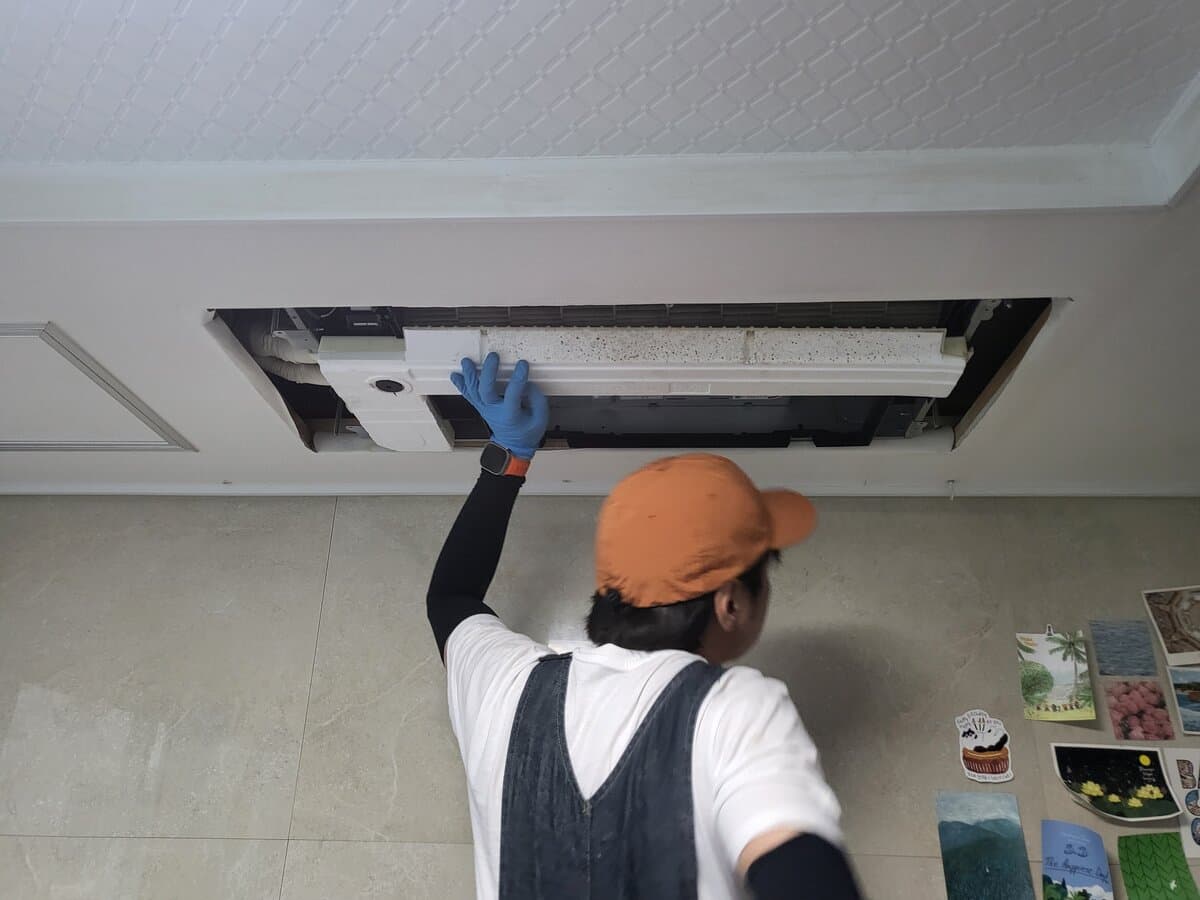
Work started with the cables. Disconnect the power safely before touching anything else. Then bolts were loosened and the outer casing removed.
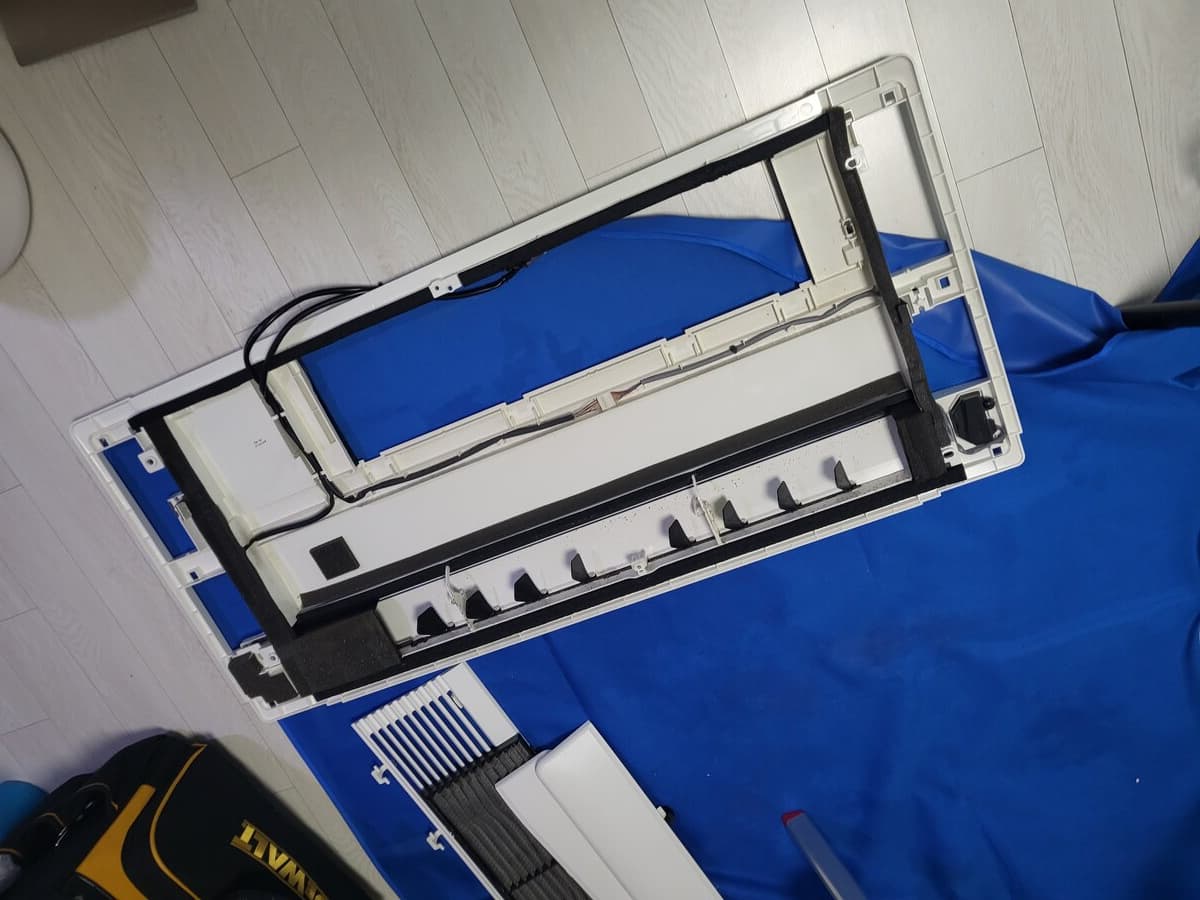
With the first casing off, the inside comes into view. Then another layer.
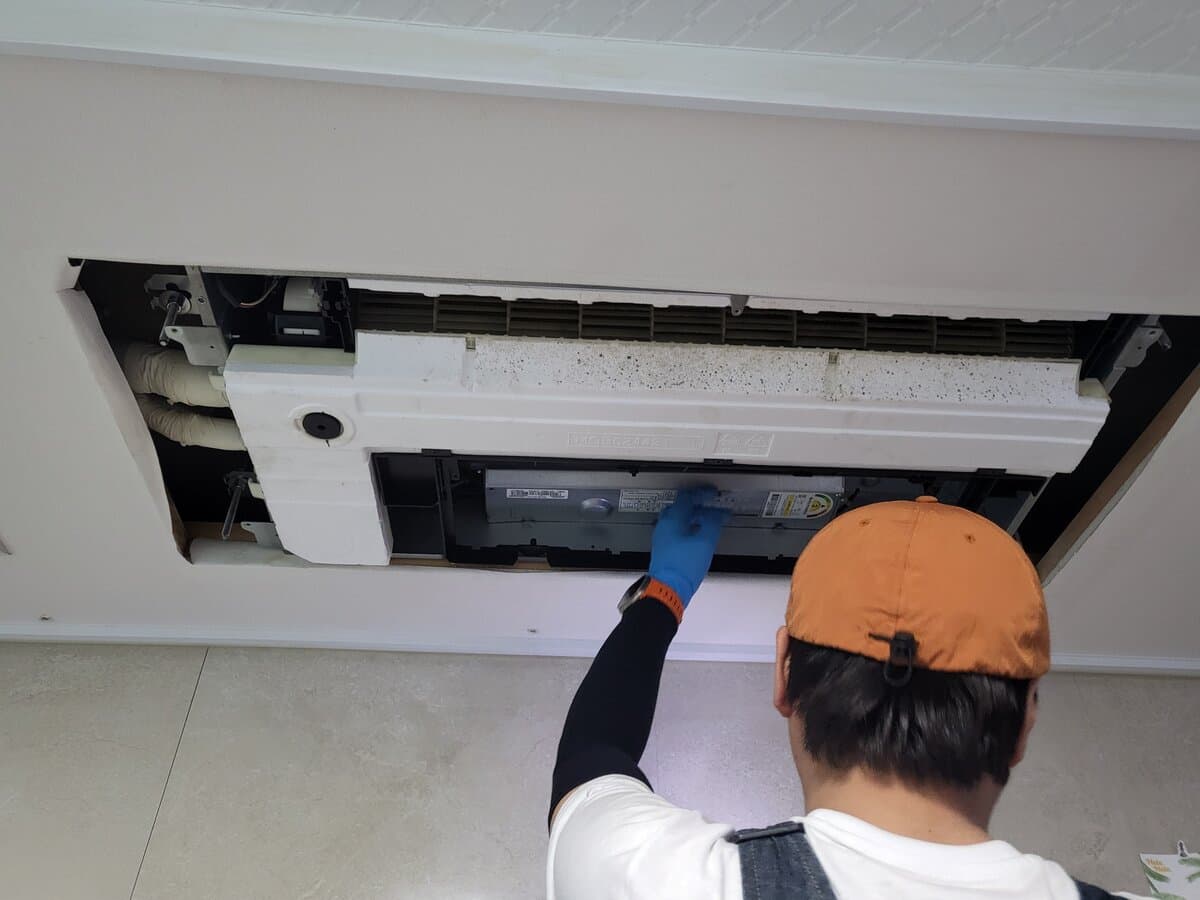
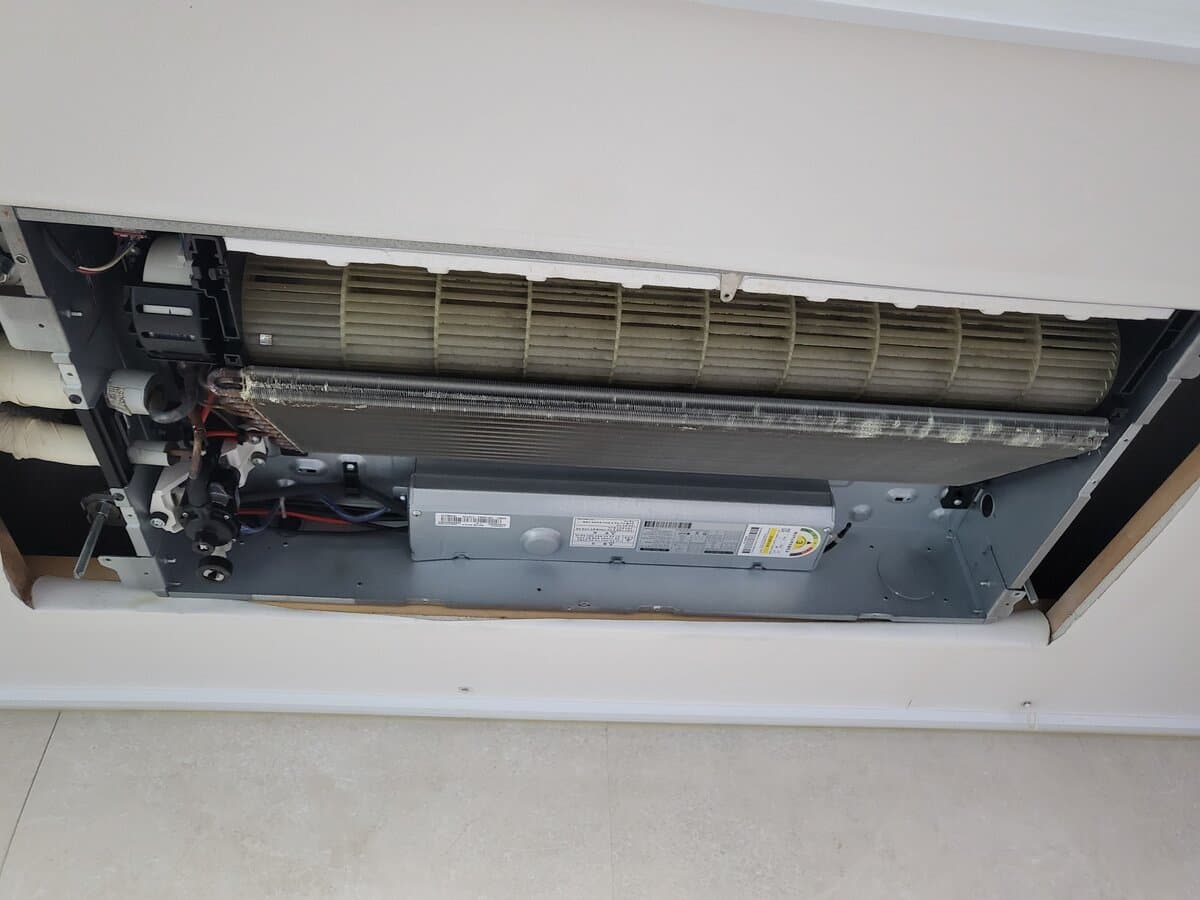
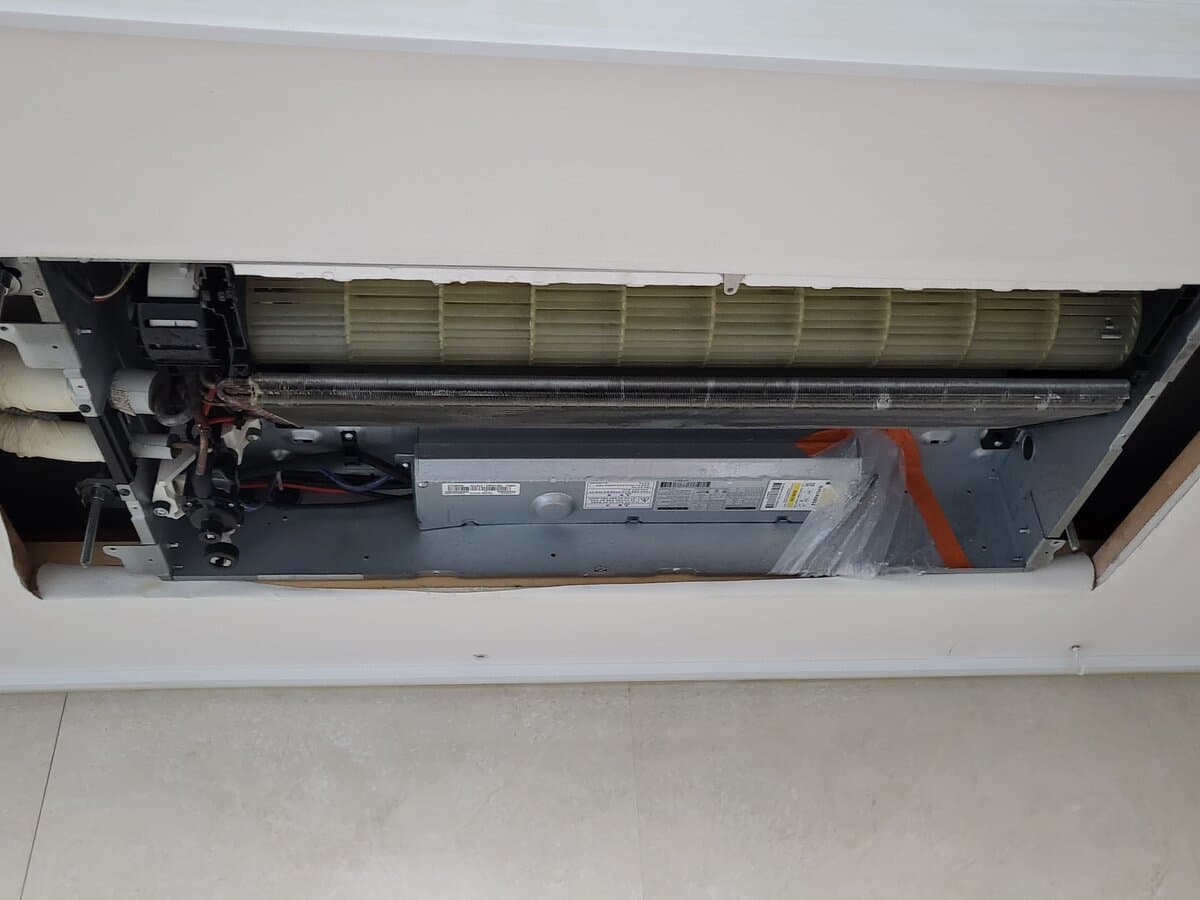
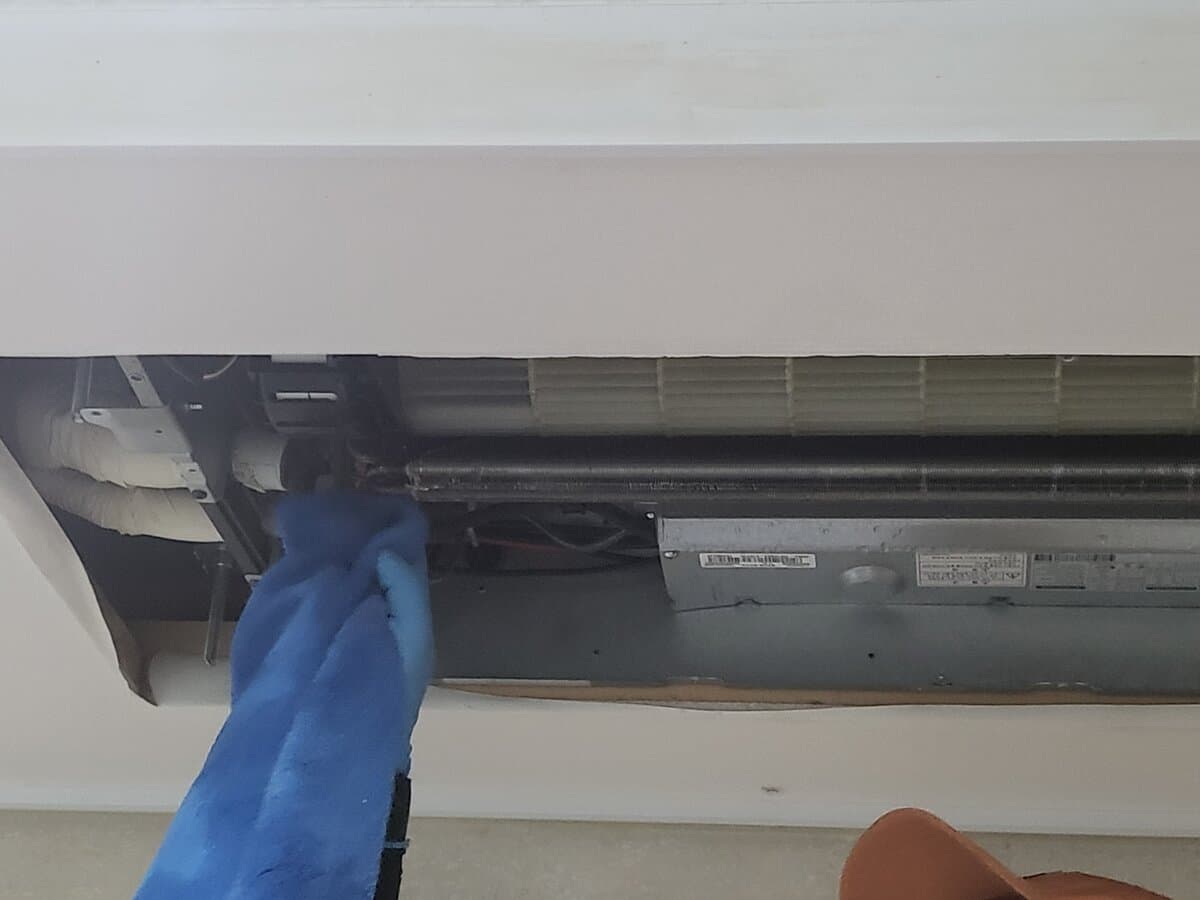
With the inner casing gone, the unit's internals are fully exposed: the evaporator (cooling fins) and the cross-flow fan. Seven years of dust had settled so thickly on the fan that its original color was hard to tell.
2. Casing Wash — Into the Bathroom
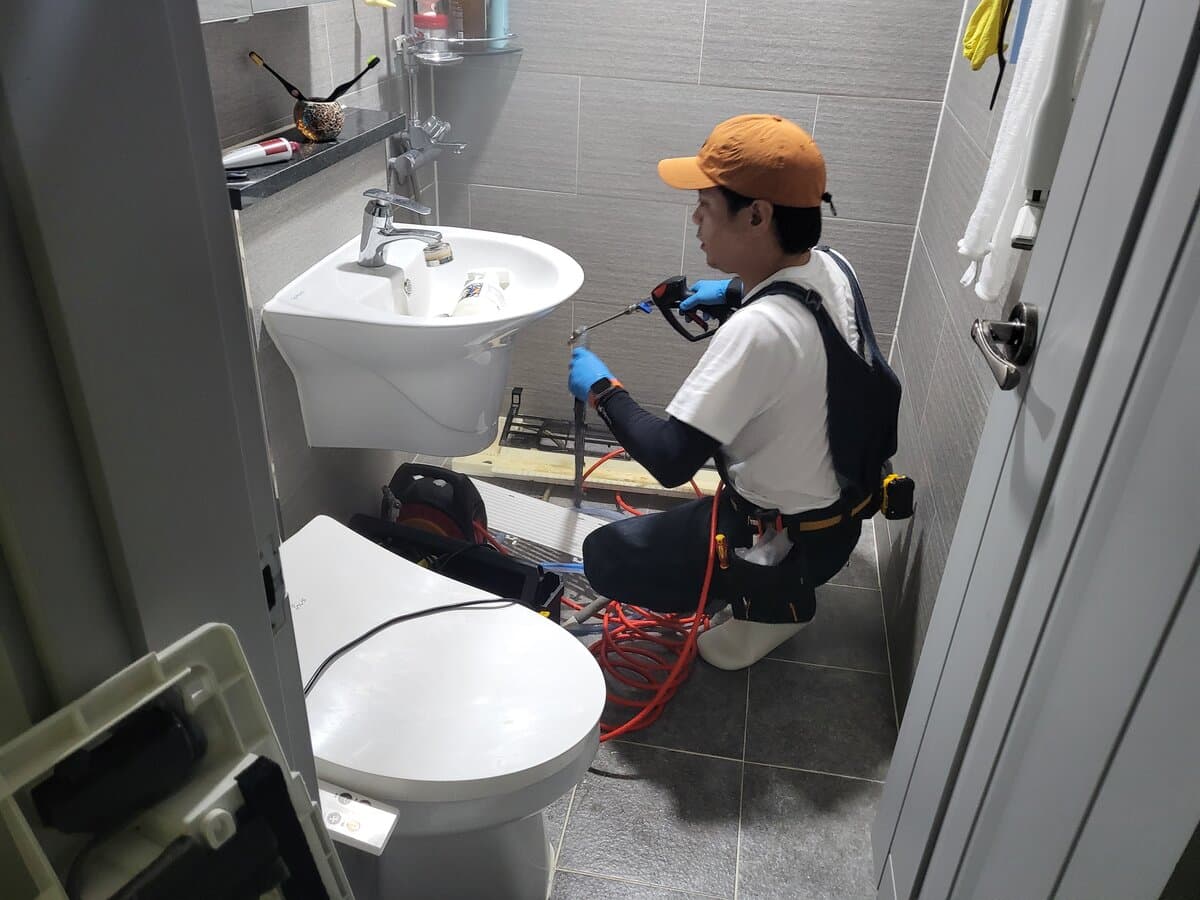
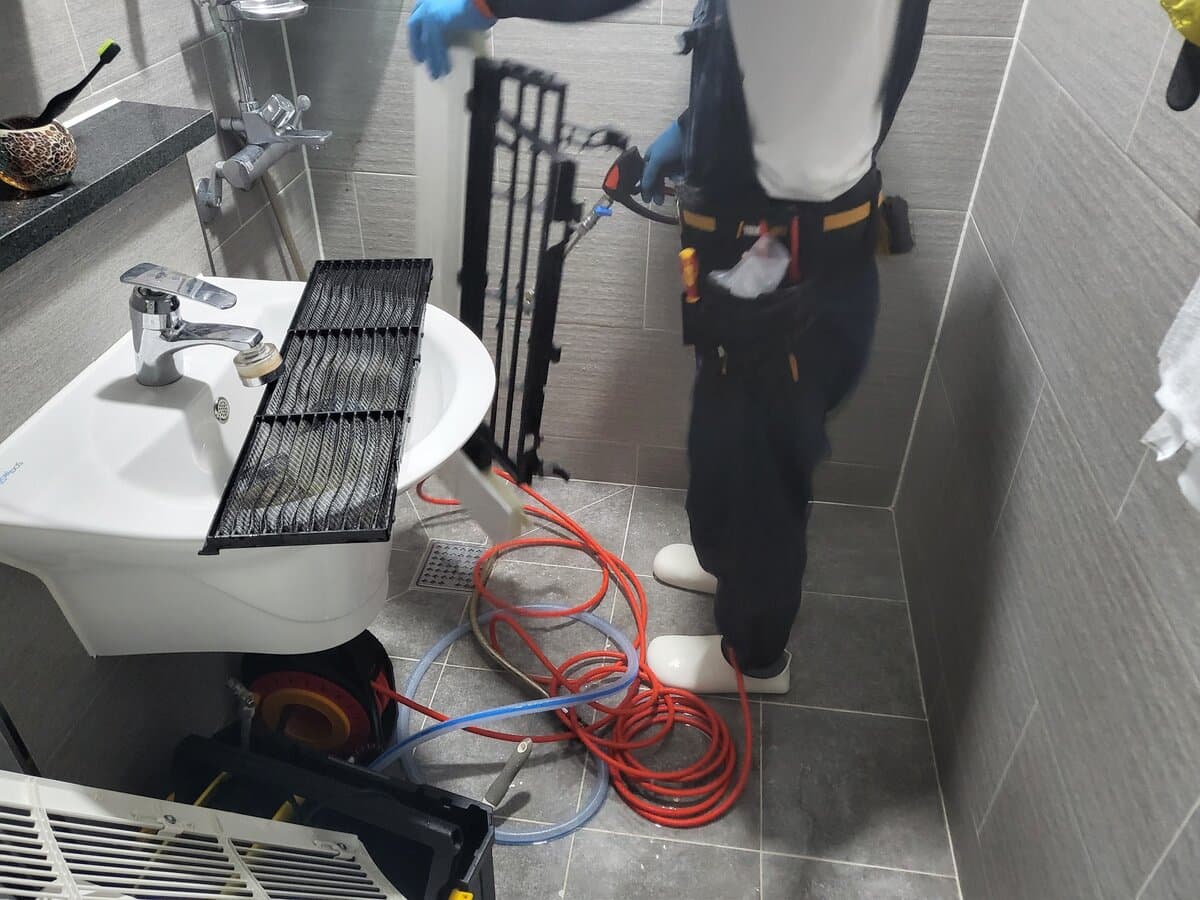
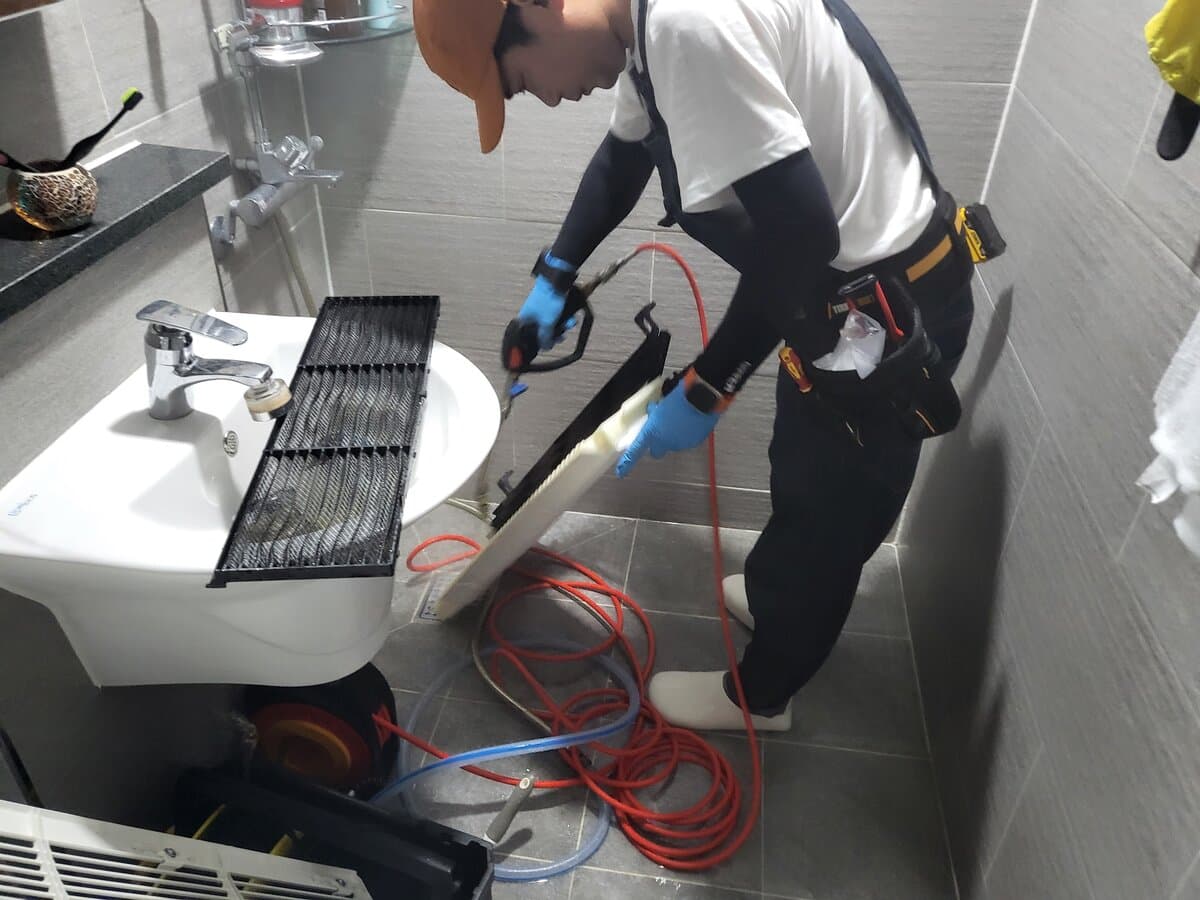
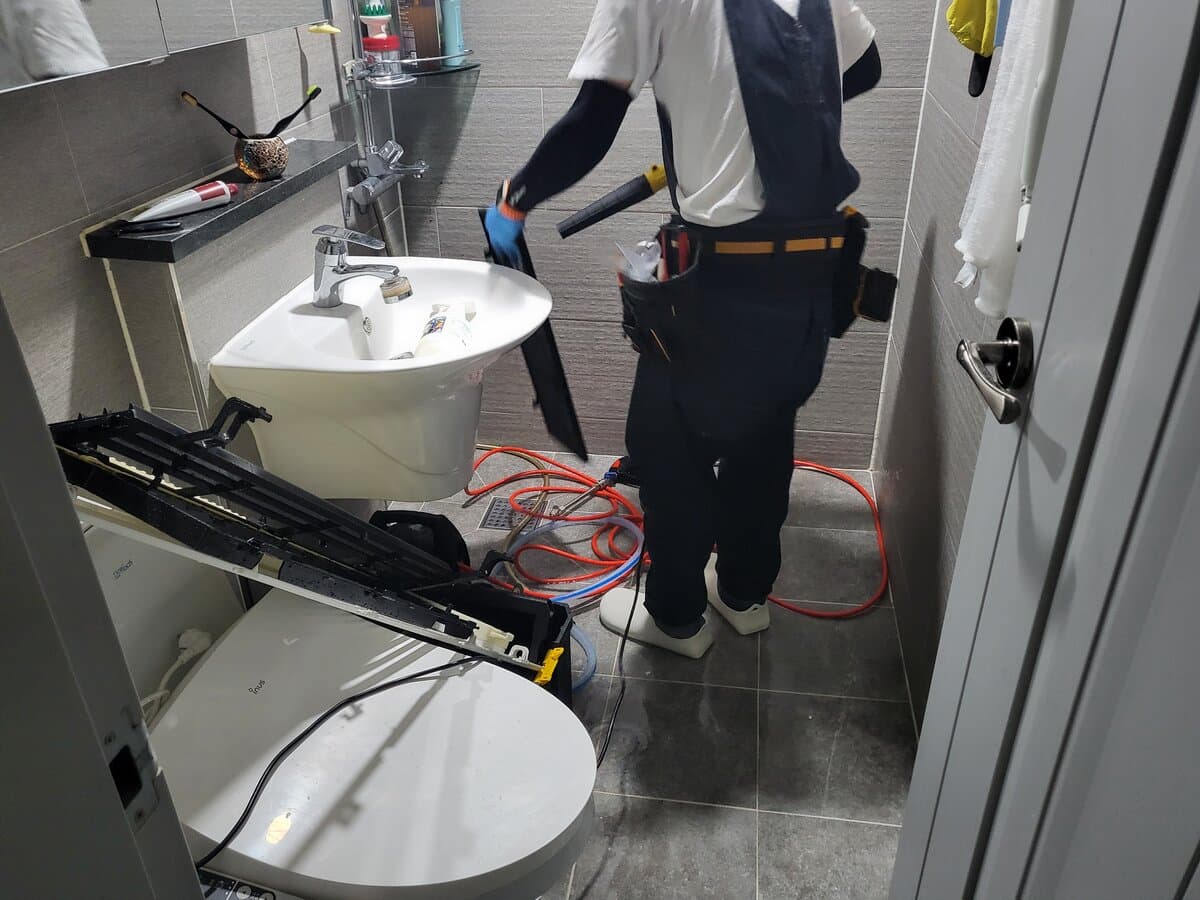
The separated panels and casings were moved to the bathroom. A cleaning agent was sprayed on to loosen built-up grime, left to work its way into the surface.
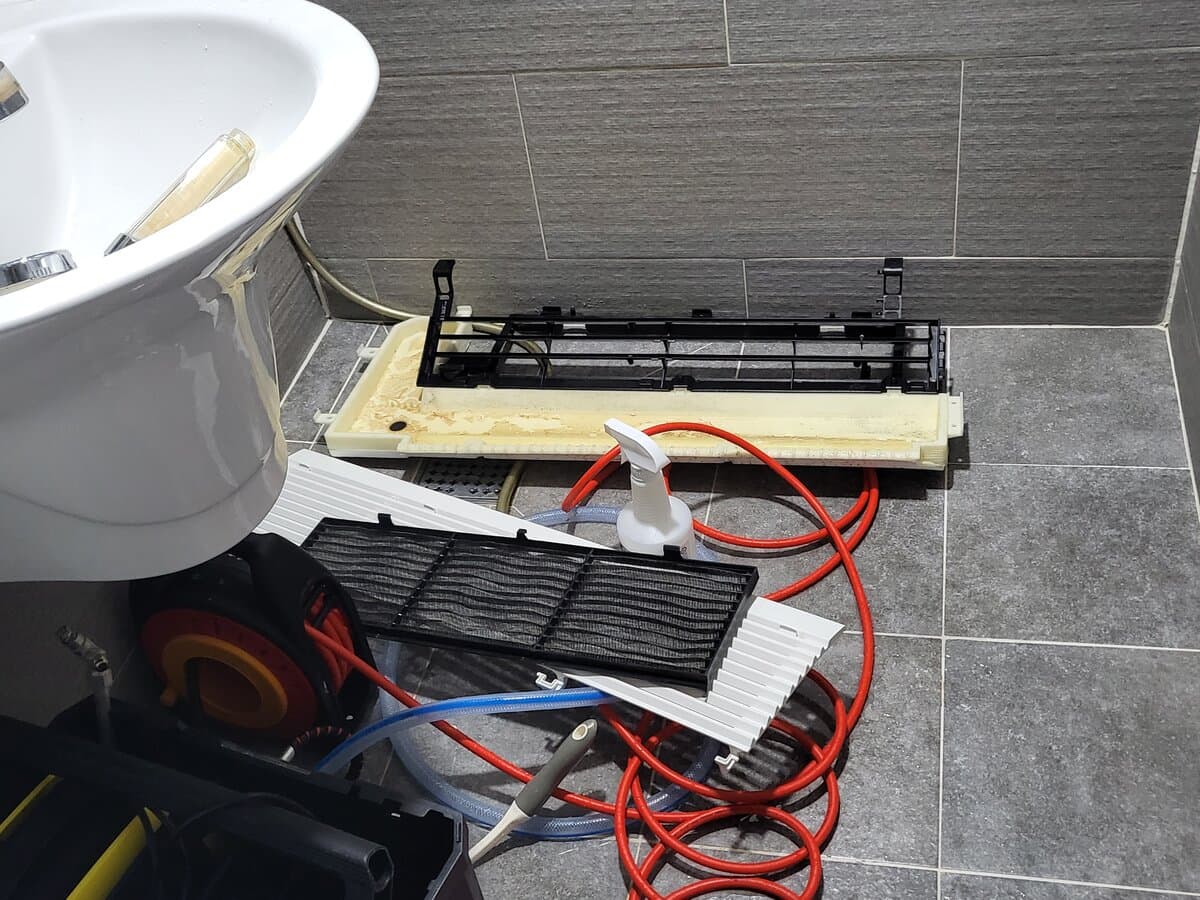
After soaking, a high-pressure water gun blasts the loosened dirt away. Filters, drain pan, louver blades — each component is washed this way.
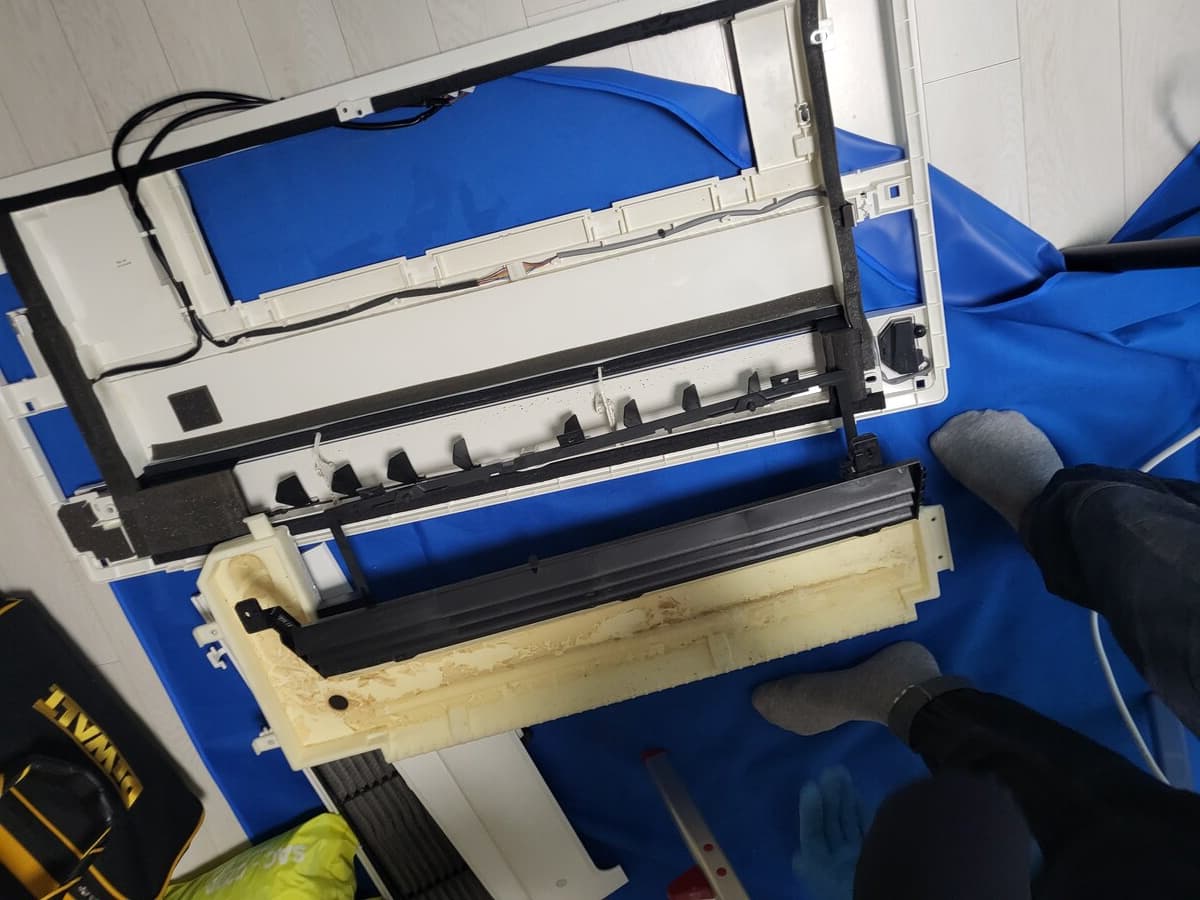
The drain pan was in rough shape. Seven years of water pooling, dust settling, and everything drying in place. One look and it's obvious why regular cleaning matters.
The front panel was laid flat on the floor with even the louver blades fully detached. More components than I expected.
3. Unit Washing — The Yellow Tent Explained
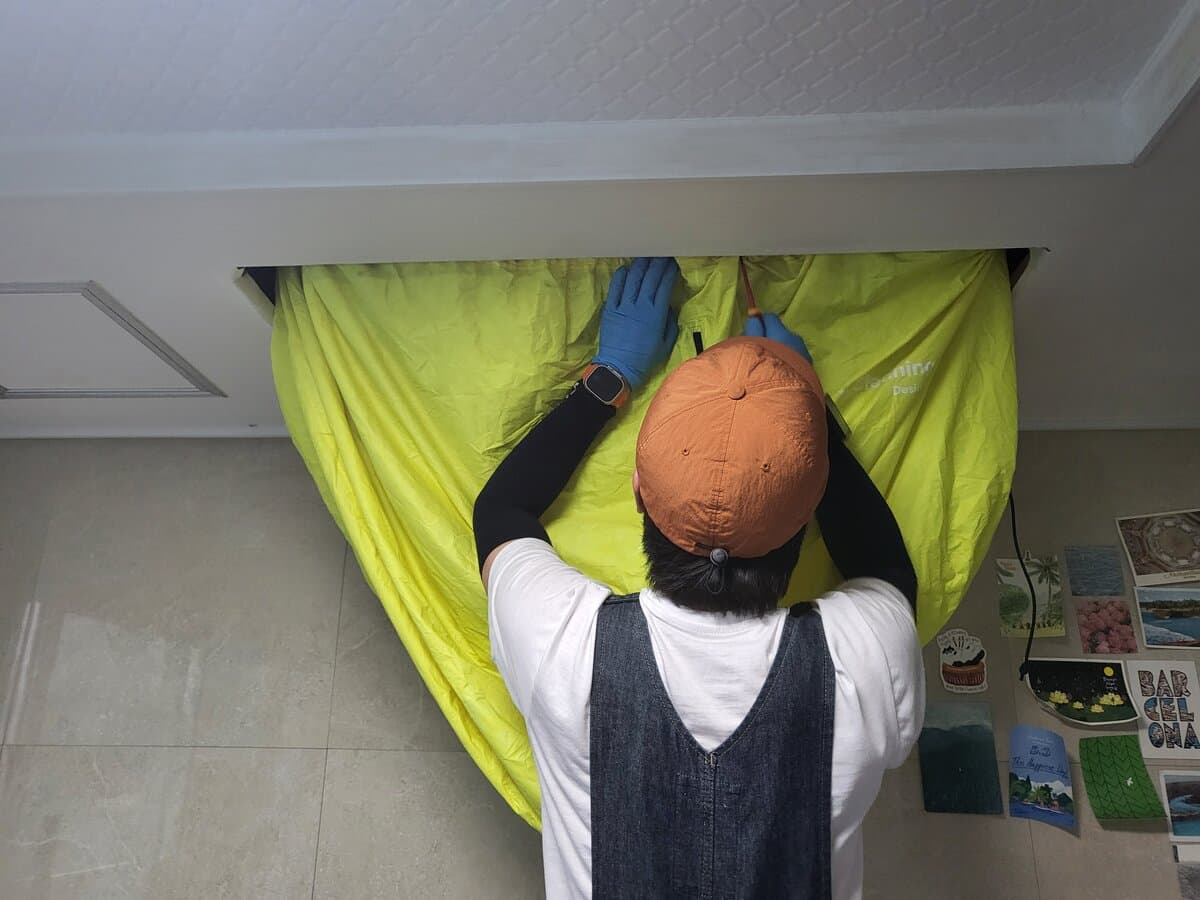
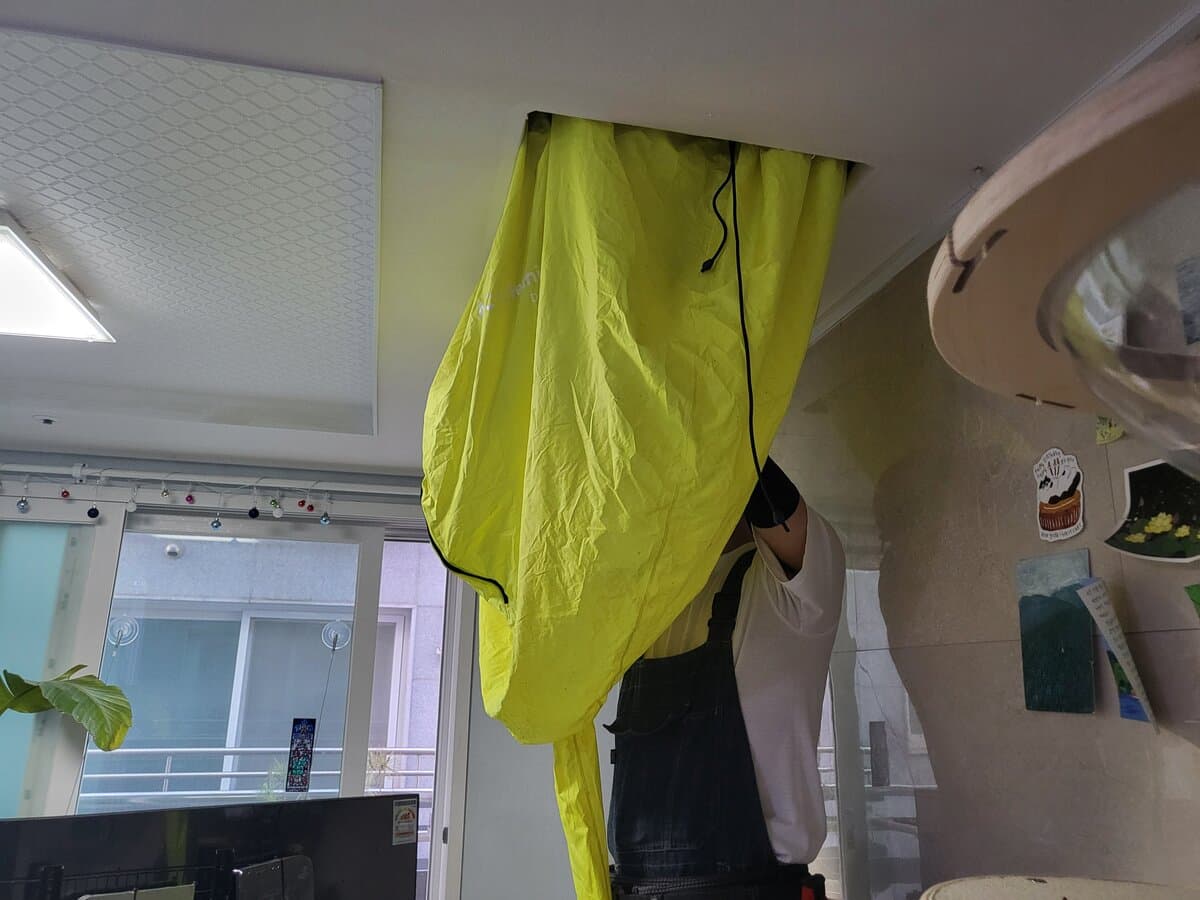
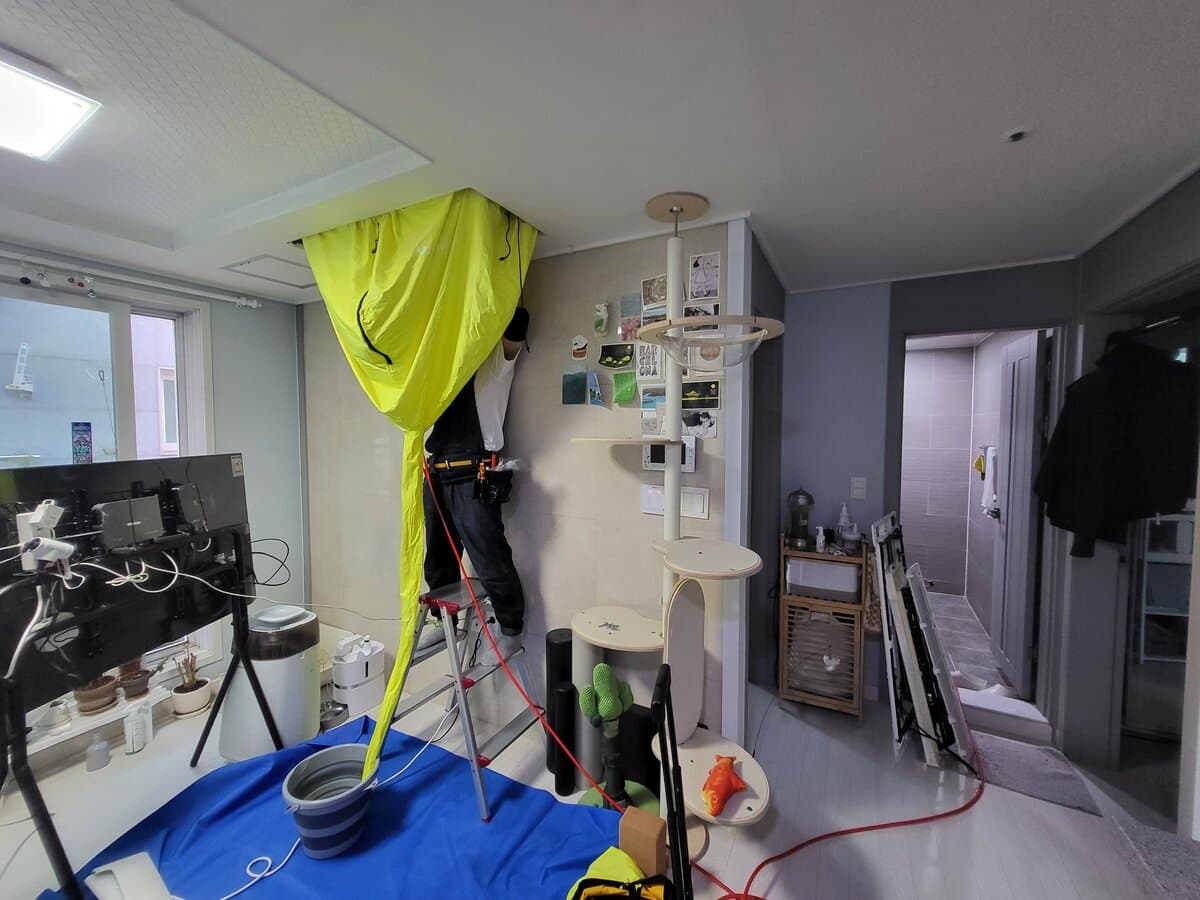
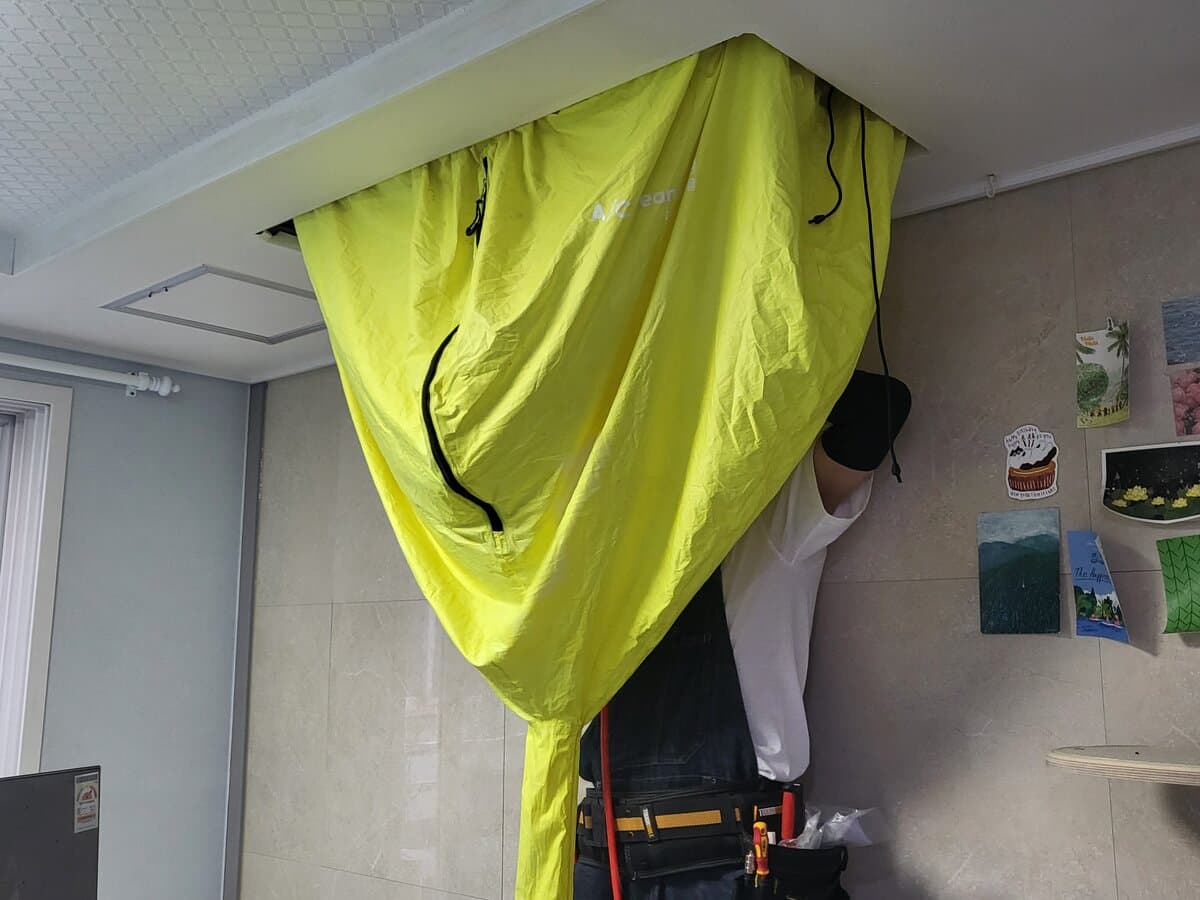
While parts were being washed in the bathroom, a different task was underway: preparing to wash the unit itself. To spray water directly without soaking the room, the entire AC unit is wrapped in a waterproof tent bag. The brand printed on it said A/Clean.
From across the room, the scene looks like this: ladder, yellow tent, blue floor tarp, drain bucket. Professional equipment packed tightly into the space.
An arm reaches into the tent to spray cleaning agent directly onto the evaporator fins. It's left to soak and dissolve the buildup inside the coils.
Once the agent has reacted, high-pressure water is blasted through. Dark water flows down through the tent into the drain bucket below.
"This is actually in pretty good condition for seven years."
Unexpected praise — and more satisfying to hear than I thought it would be.
After the pressure wash, a damp cloth goes over everything to catch residual moisture and any remaining debris.
4. Reassembly — Reverse Order
Once the unit wash is done, the tent comes down first.
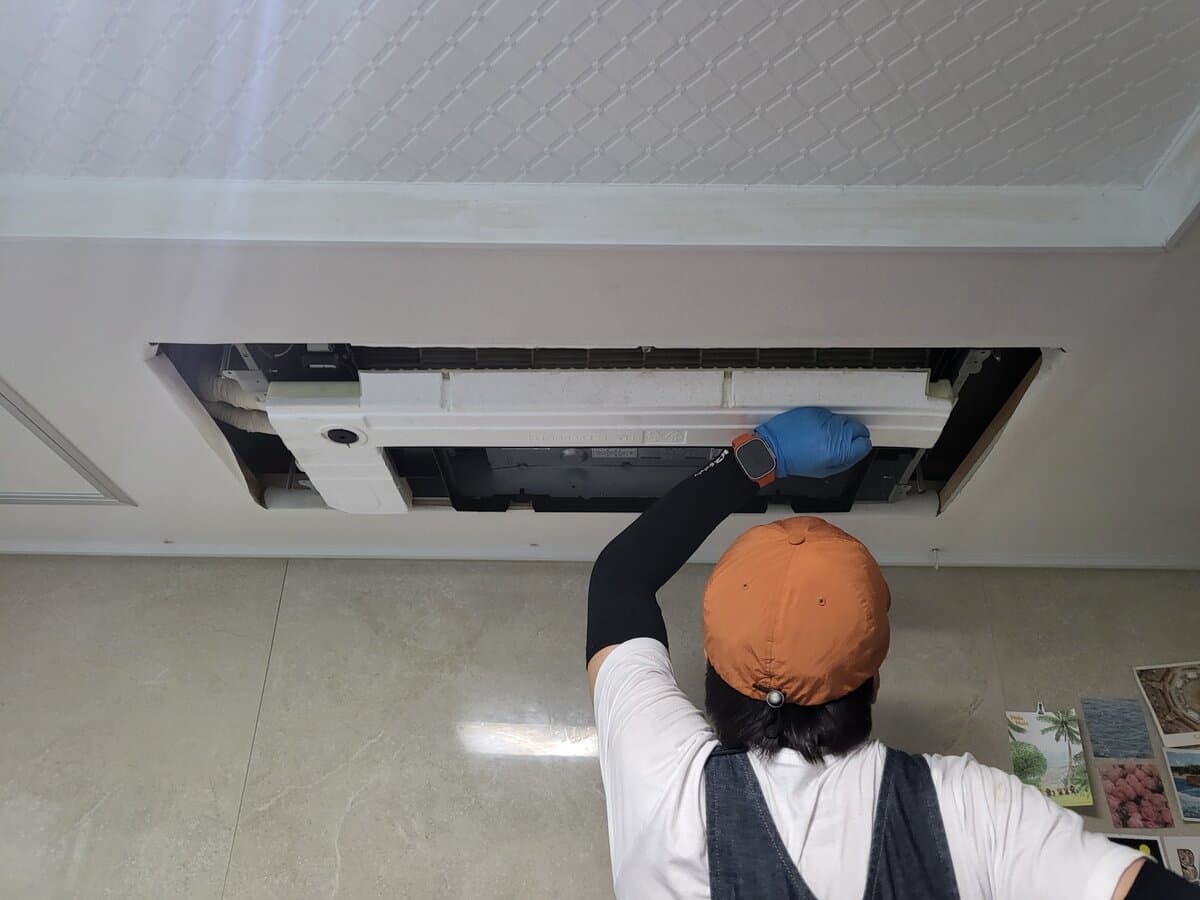
The casings go back up in reverse order. The panel is large enough that aligning it overhead with two hands didn't look easy.
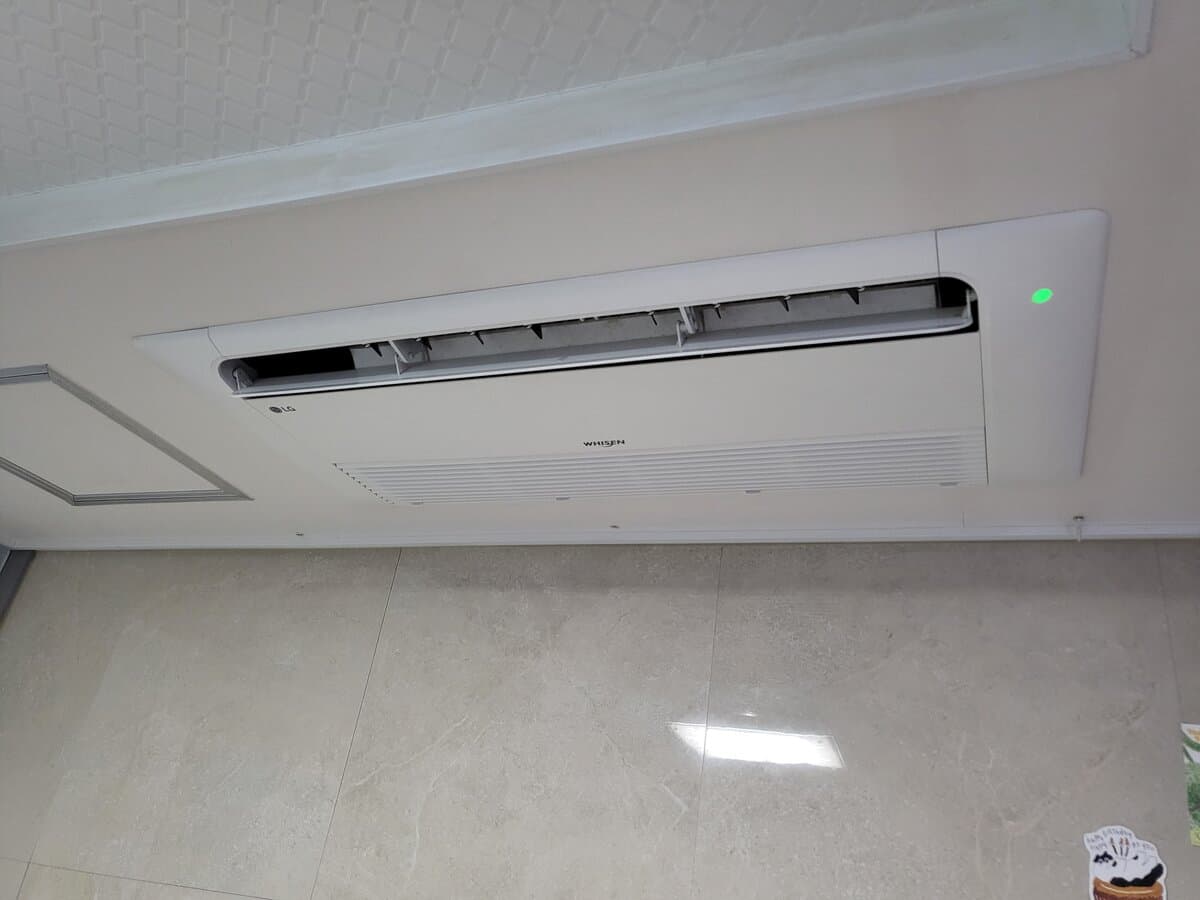
5. The Final Step — 30 Minutes on Fan Mode
Assembly done isn't cleaning done. Run the unit on fan mode for 30 minutes. Any moisture remaining inside needs to dry completely — otherwise the first time you run cooling, it will smell like mold.
Seven years between cleanings.
As an engineer, the internal structure made sense as it was disassembled: evaporator, cross-flow fan, drain pan, louvers — familiar components. But the reason I couldn't tackle it alone wasn't a knowledge gap. It was access. Half-buried in the ceiling, hands don't reach easily, and running water near electrical connections carries real risk.
Then there's the equipment: high-pressure washer, waterproof tent, drain bucket. Owning all of that for one job isn't practical.
This was a useful reminder about where the line sits between doing it yourself and knowing when to call someone else.
Ceiling AC cleaning lands firmly on the professional side. And the result was better than expected.